
World of Tanks Aiming, Accuracy and Shot Placement Guide
Last updated: November, 2026
Improve your World of Tanks aim with practical advice on dispersion, aim time, snapshot discipline, weakspots, target priority, and firing drills.
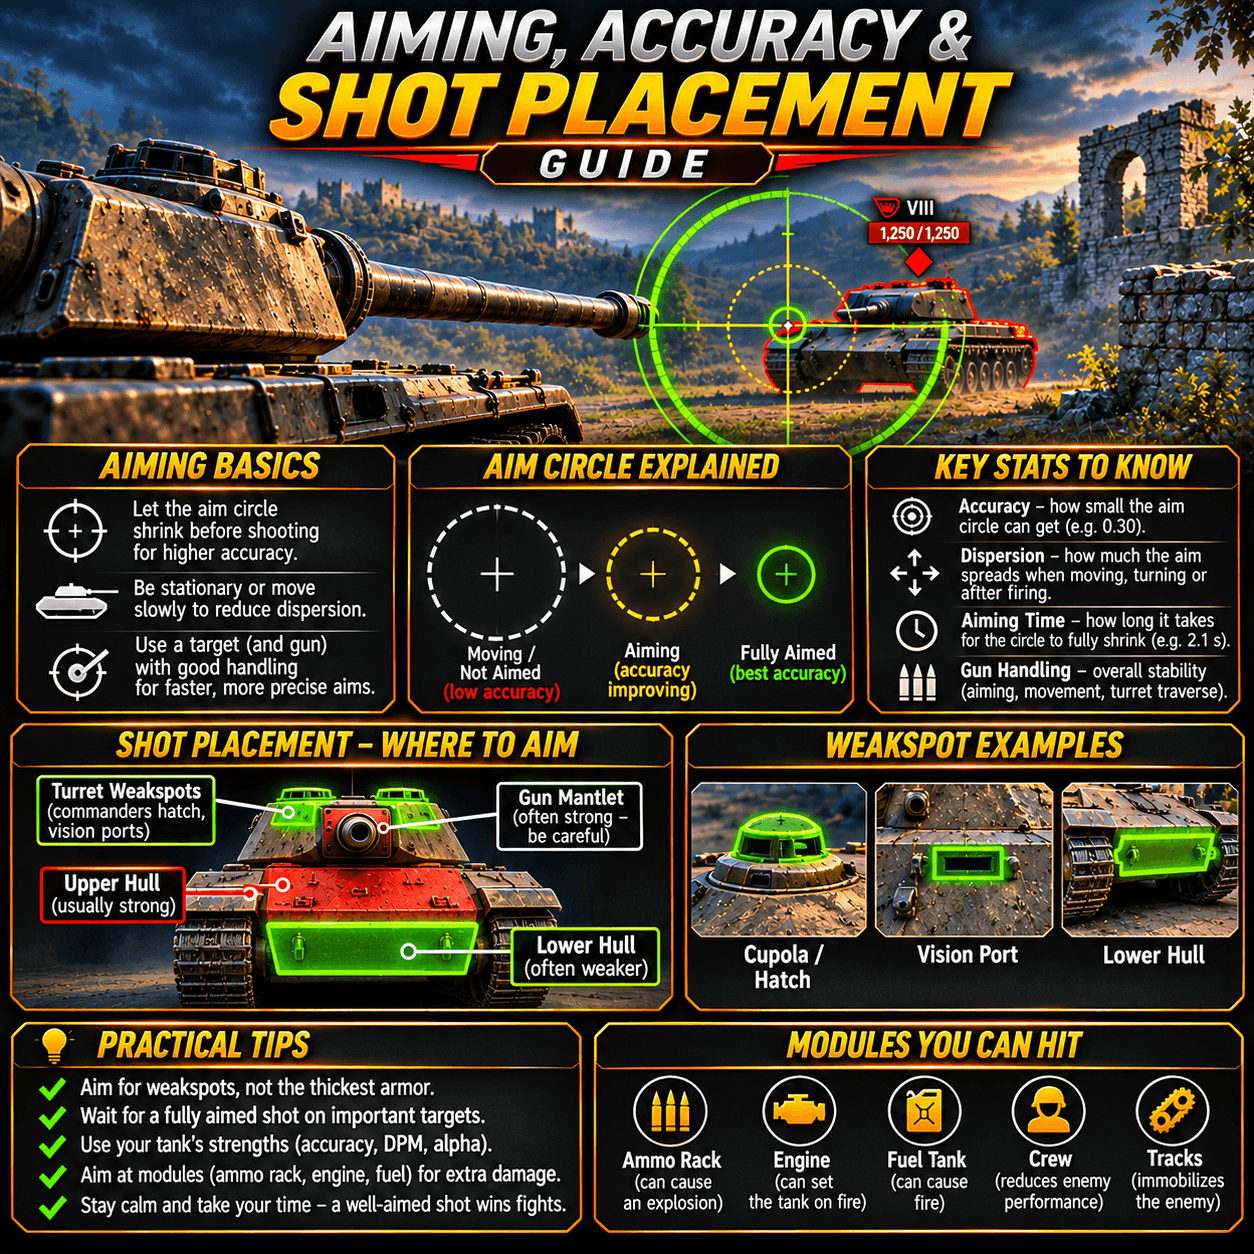
Accuracy, Dispersion, and Aim Time
Accuracy describes how tightly a gun can place shells at a given range, while dispersion is the spread applied to the shot. Aim time describes how quickly the reticle contracts after movement or other actions. These stats work together: a precise gun still misses more often when you fire during maximum bloom, and a fast aim time cannot fix a poor firing angle.
- Stop unnecessary hull and turret movement before you begin aiming.
- Keep the reticle where an enemy is likely to appear so less correction is needed.
- Use cover to buy aim time instead of exposing the whole tank while waiting.
- Choose equipment and crew improvements that address the tank's actual weakness. Compare options in our equipment setups guide.
A Reliable Aiming Routine
Good aim is a sequence of small decisions rather than frantic mouse movement. Before firing, ask four questions:
- What is the target doing? Predict whether it will stop, reverse, turn its turret, or continue crossing.
- Where is the safest valuable plate? Select a weakspot only when the angle and exposure make it realistic.
- Can I fire without losing the trade? Keep a retreat route and avoid aiming so long that a second enemy gets a free shot.
- Which shell fits the shot? Use the correct round for the armor and angle. Our ammo selection guide covers that decision.
Pre-aiming is especially valuable at corners and ridgelines. Place the reticle on the first likely exposure, then make small corrections instead of sweeping across the entire screen.
Shot Placement: Damage Versus Reliability
The highest possible damage is not always the best shot. A reliable hit that tracks an enemy, interrupts a push, or removes a low-health tank can be more valuable than a difficult cupola attempt.
Use weakspots when
The enemy is committed, the plate is visible long enough to aim, and a penetration creates a meaningful advantage. Lower plates, commander's hatches, driver areas, and turret cheeks vary by vehicle, so confirm the layout rather than relying on one universal target.
Use the larger plate when
The target is moving, you are under pressure, or the shot must be taken immediately. Center mass, tracks, or a broad side can be the correct choice when a tiny weakspot would make you miss.
Armor angle controls the result as much as your crosshair. Read our weakspots and armor angling guide to connect aim placement with penetration chances.
Snapshotting and Firing on the Move
Snapshotting means firing before the reticle fully closes. It is useful when a target is about to disappear, when you are crossing a dangerous gap, or when the enemy is reloading. It is a calculated trade, not a default habit.
- Release movement keys briefly before firing when the situation allows.
- Use short exposure windows instead of holding the tank in the open while the reticle closes.
- At close range, prioritise a large penetrable area over a distant weakspot.
- After a miss, do not immediately repeat the same rushed shot unless the tactical window still exists.
Gun handling equipment and crew skills can reduce the cost of movement, but they do not remove the need for timing. Build around the way the tank actually fights.
Target Priority and Aim Discipline
Strong aim includes knowing when not to shoot. Prioritise targets that are isolated, crossing, low on hit points, threatening an ally, or exposed to a crossfire. Avoid tunnel vision on one tank if another enemy can punish your position.
- Finish a tank when the shot is reliable and removes a gun from the fight.
- Track a dangerous enemy when immobilising it creates a safe follow-up for your team.
- Switch targets when the current plate becomes angled, hidden, or too expensive to penetrate.
- Keep checking the minimap before long-range shots so you do not miss a flank developing behind you.
Positioning creates better aim opportunities. Use the map positioning and rotation guide to reach angles where targets expose themselves naturally.
Aim Training Drills
- Corner drill: pre-aim a common enemy exposure, peek only when ready, and retreat immediately after the shot.
- Weakspot drill: use the armor viewer or a training room to learn which plates are realistic at different angles.
- Movement drill: practise stopping the hull before firing, then compare the result with a rushed snapshot.
- Target-switch drill: after every shot, scan for a higher-value target before reloading or aiming again.
- Replay review: label each miss as aim, timing, penetration, target movement, or bad decision. Fix the most common category first.
For players working toward higher damage totals, the High Damage Battles service can complement these fundamentals with stronger battle execution.
FAQ
Should I always wait for the reticle to fully close?
No. Fully aiming is best when the shot is important and you have cover, but a quick shot can be correct when the target is exposed briefly, the enemy is reloading, or delaying would lose the opportunity. Match aim time to the risk and value of the shot.
What is the best way to improve aim in World of Tanks?
Use a repeatable routine: keep the reticle on likely enemy positions, reduce movement before firing, aim at a specific weakspot, and review missed shots to separate aim errors from penetration or armor problems.
Why do my shots miss even when the reticle is on the target?
The reticle shows an aiming estimate, not a guarantee. Dispersion, movement bloom, target movement, latency, armor geometry, and shell travel time can all change the result. Improve the shot by stabilising, waiting for a better exposure, or choosing a larger target area.