
How to Counter Artillery in World of Tanks (2026 Guide)
Last updated: October, 2026
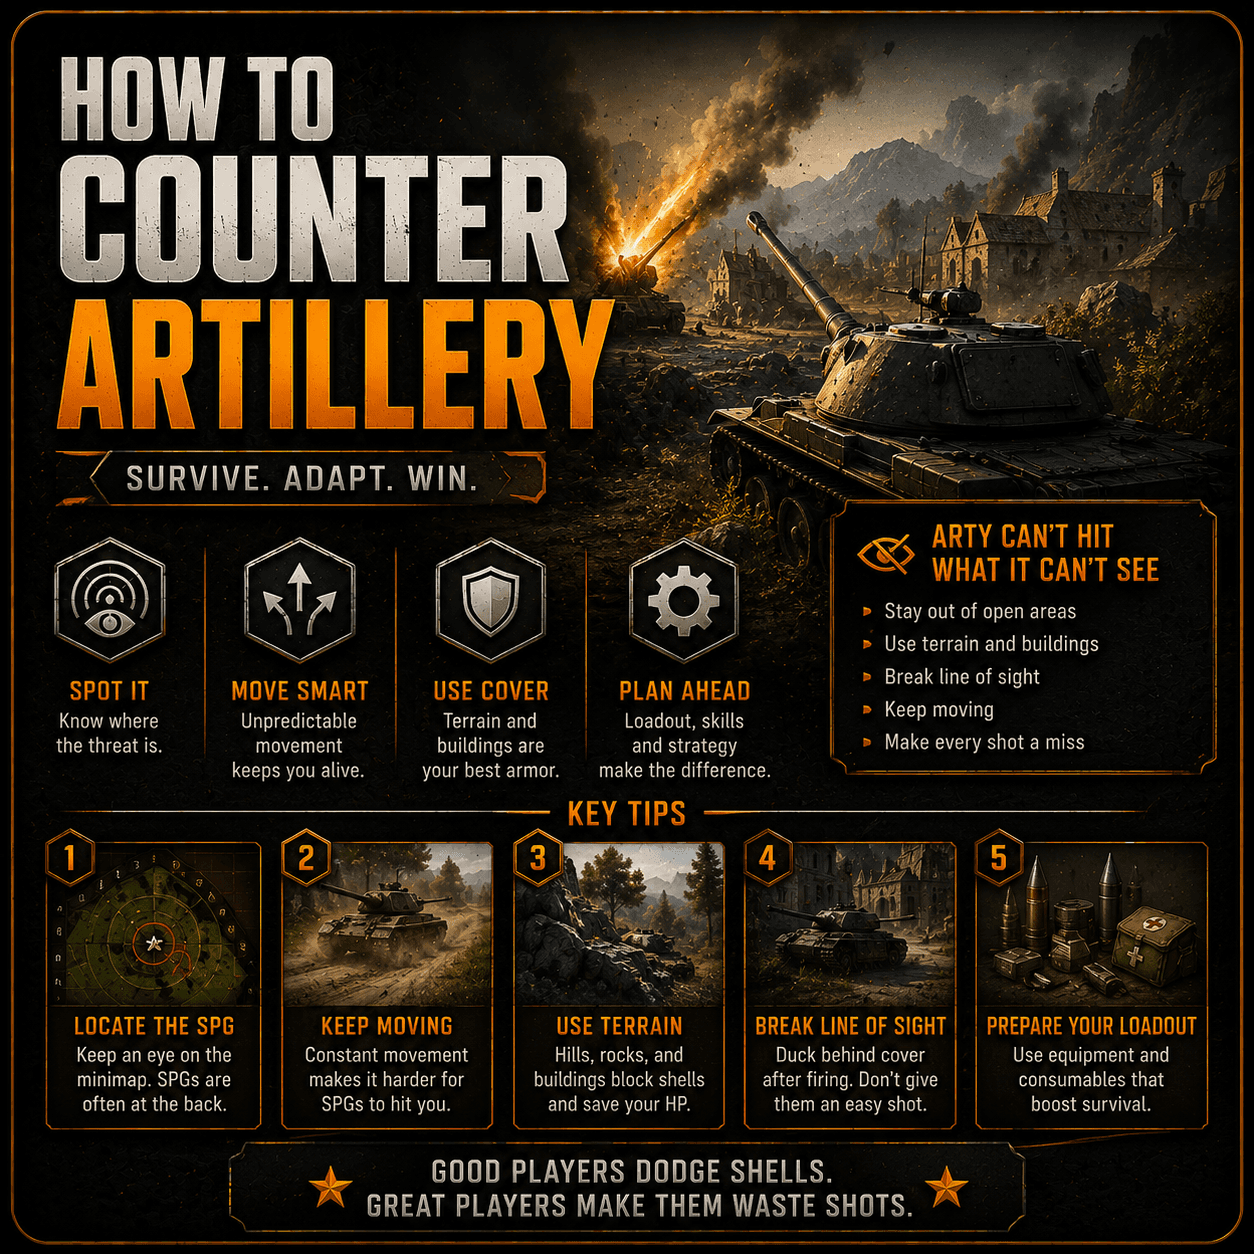
Artillery is the most feared class in World of Tanks — one shell can end your battle instantly. This guide explains exactly how SPGs target you, how stun works, and the concrete habits that dramatically cut down how often arty actually hits you.
How Artillery Targets You
Understanding the actual targeting mechanic removes most of the fear factor around arty. SPGs cannot shoot blindly — they need vision.
- Vision requirement: An SPG can only fire at a vehicle that is currently spotted for their team (or spotted by the SPG itself). If nobody has vision on you, you cannot be directly targeted.
- Shell travel time: Unlike direct-fire guns, arty shells take a noticeable amount of time to land — often 1–3+ seconds depending on range. This delay is your entire window of counterplay.
- Aim-and-lead: Skilled arty players lead moving targets based on your speed and direction. Predictable, straight-line movement in the open is the easiest pattern to hit.
- Splash damage: Even a miss can deal partial damage and stun if the shell lands close enough. Being spotted 5 metres from cover is still dangerous — the splash radius on high-tier arty is substantial.
The single biggest counter to arty is simple: don't be spotted while standing still in the open. Everything else in this guide builds on that principle.
Stun Mechanics
Modern SPG shells apply a stun (shell shock) effect on hit or near-miss, separate from the direct damage dealt.
- What stun does: Increases aim time, worsens dispersion, reduces view range, and slows acceleration/turning for a fixed duration after the hit.
- Stun duration scales with damage: A glancing splash hit stuns briefly; a direct hit near your HP pool can stun for a long duration, effectively removing you from the fight even if you survive the shell.
- Repair kits do not cure stun — stun is a timed debuff, not a module state. Waiting it out or breaking line of sight to avoid a follow-up shot is your only recourse.
- Reducing stun severity: Some crew perks and consumables reduce stun duration. Positioning behind cover the instant you take a hit prevents a second stun stacking on top of the first.
A stunned heavy sitting in the open is now an easy target for direct-fire tanks too — treat a stun as a signal to retreat to cover immediately, not to push further.
Cover Discipline
Cover discipline is the habit of always knowing your nearest escape route before you expose yourself to fire. It is the most reliable long-term defence against artillery.
- Pick a firing position with cover behind it: Before pushing to a ridge or peeking a corner, identify where you will retreat to if arty locks onto you. If there is no cover within 2–3 seconds of movement, reconsider the position.
- Use overhead cover on open maps: Buildings, rock overhangs, and bridges block arty's arcing shells even when they don't block direct-fire line of sight. Learn which structures on each map provide arty-proof cover.
- Don't sit still after firing: The moment you fire from an exposed position, you have revealed your exact location. If you plan to fire again from the same spot, arty has had time to aim at you specifically.
- Angle your retreat, not just your armour: When falling back from a spotted position, move behind terrain at an angle rather than straight back — this reduces the arty player's ability to predict your final resting spot.
Cover discipline overlaps heavily with general positioning fundamentals — see our Map Positioning & Rotation guide for the broader framework.
Movement & Positioning
Contrary to popular belief, constant random movement is not the best anti-arty tactic. The strongest approach combines short movement bursts with genuine cover usage.
- Move in short, irregular bursts: Change speed and direction unpredictably rather than driving in a straight line. This defeats simple lead-and-fire aiming.
- Never idle in the open after being spotted: If you know you are spotted (red/orange marker, recent damage taken), assume an arty shell is already inbound and reposition immediately.
- Break line of sight rather than out-run the shell: Since shells travel in an arc, moving behind any solid object — not just distance — is what actually stops the hit.
- Use hull-down positions that block arty's top-down arc: A traditional hull-down spot against direct fire doesn't always block plunging arty fire — check if there's overhead cover too, especially on hilltop or ridge positions.
Hunting Enemy Artillery
The most permanent counter to arty is killing it. A destroyed SPG deals zero more damage for the rest of the match.
- Read the minimap for arty position: Every SPG shot produces a visible flash and, on impact, a marker showing the general firing direction. Cross-reference two shots to triangulate their rough position.
- Send your fastest, highest-camo vehicle: Light tanks and mobile mediums with good camo are ideal. They can flank quickly and often catch an SPG that has repositioned to an unprotected spot.
- Prioritise arty over farming damage when losing: If your team is behind on damage and the enemy SPGs are farming your teammates, removing even one arty can swing the rest of the match more than another 500 damage on a heavy.
- Watch for exposed SPGs late-game: As the match thins out, SPGs often lose their escort and become exposed. A medium or light rotating through the back line in the final third of a battle frequently finds an isolated arty.
Light tanks are particularly effective at this job — see our Light Tank Spotting guide for map routes and flanking techniques.
Equipment & Crew Picks
No equipment makes you immune to artillery, but several picks meaningfully reduce how much arty damage costs you over a match.
- Improved Hardening: A larger HP pool means a single arty hit is less likely to be a one-shot. The most direct defensive equipment pick against arty.
- Turbocharger: Faster acceleration gets you behind cover quicker once spotted — mobility is a defensive stat against arty, not just an offensive one.
- Camouflage Net / Coated Optics: Reducing how easily you are spotted in the first place is the earliest possible counter — if arty can't see you, they can't target you at all.
- Crew Repairs skill: Arty frequently damages modules (tracks, guns) even on partial hits. Fast Repairs gets you mobile again before a follow-up shot.
- Adrenaline Rush / Repair Kits: Useful for recovering from module damage quickly, though they do not cure stun itself.
Full class-by-class loadouts: Best Equipment Setups guide.
Tips by Tank Class
- Heavies: The biggest arty targets due to slow speed and predictable pushes. Always know your retreat path before committing to a hull-down spot. See Heavy Tank Brawling for angling that also reduces splash exposure.
- Mediums: Use your mobility to peek-fire-retreat in tight cycles rather than holding an exposed position. See our Medium Tank guide for the trading rhythm that naturally limits arty exposure.
- Lights: High camo and speed make you a low-priority, hard-to-hit target — but also the best-positioned class to hunt arty directly. See Light Tank Spotting.
- Tank destroyers: Casemate TDs are especially vulnerable since they cannot flee quickly after firing. Reposition after every 2–3 shots, and never fire from the same spot repeatedly. See Tank Destroyer Guide for camo-based positioning that also defends against arty.
Common Mistakes
- Stopping in the open to aim: Standing still to line up a shot in an unprotected spot is exactly the scenario arty punishes hardest. Find cover first, then aim.
- Pushing predictably along the same lane every game: Experienced arty players learn common push routes on each map and pre-aim them. Vary your paths.
- Ignoring stun and continuing to push: A stunned tank has worse accuracy and dispersion. Pushing further while stunned compounds the disadvantage — retreat and let it wear off.
- Grouping up in the open: Multiple tanks clustered together let a single arty shell splash-damage more than one target. Spread out even when supporting each other.
- Never hunting arty because "it's not my job": If nobody removes enemy SPGs, they farm the whole match uncontested. Even one dedicated run to remove an arty can change a battle's outcome.
FAQ
How does artillery (SPG) targeting work in World of Tanks?
Arty can only fire at spotted targets. Shells take 1–3+ seconds to land, giving you a window to break line of sight. If you become unspotted or move behind cover before the shell lands, it can miss entirely.
What is stun and how does it affect my tank?
Stun temporarily worsens aim time, dispersion, view range, and mobility. Repair kits don't cure it — it wears off over time. Treat a stun as a signal to retreat to cover rather than push further.
What equipment reduces artillery damage?
Improved Hardening gives a bigger HP buffer against one-shots. Turbocharger helps you escape cover faster once spotted. Camouflage-boosting equipment reduces the odds of being spotted in the first place.
Should I move constantly to avoid artillery?
No. Constant movement in the open is still predictable and punishable. Short, irregular movement bursts combined with real cover usage is far more effective than driving randomly in the open.
How do I hunt down enemy artillery?
Use fast, high-camo vehicles like lights or mobile mediums. Track their position via shot flashes and impact markers on the minimap, then flank quickly — SPGs are usually poorly defended once located.