
How to Play Artillery in World of Tanks (2026 Guide)
Last updated: September 2026
Artillery is a support class built around timing, map awareness, and pressure rather than constant direct fights. Learn how to choose targets, land useful stun, survive counter-battery fire, and create openings for your team.
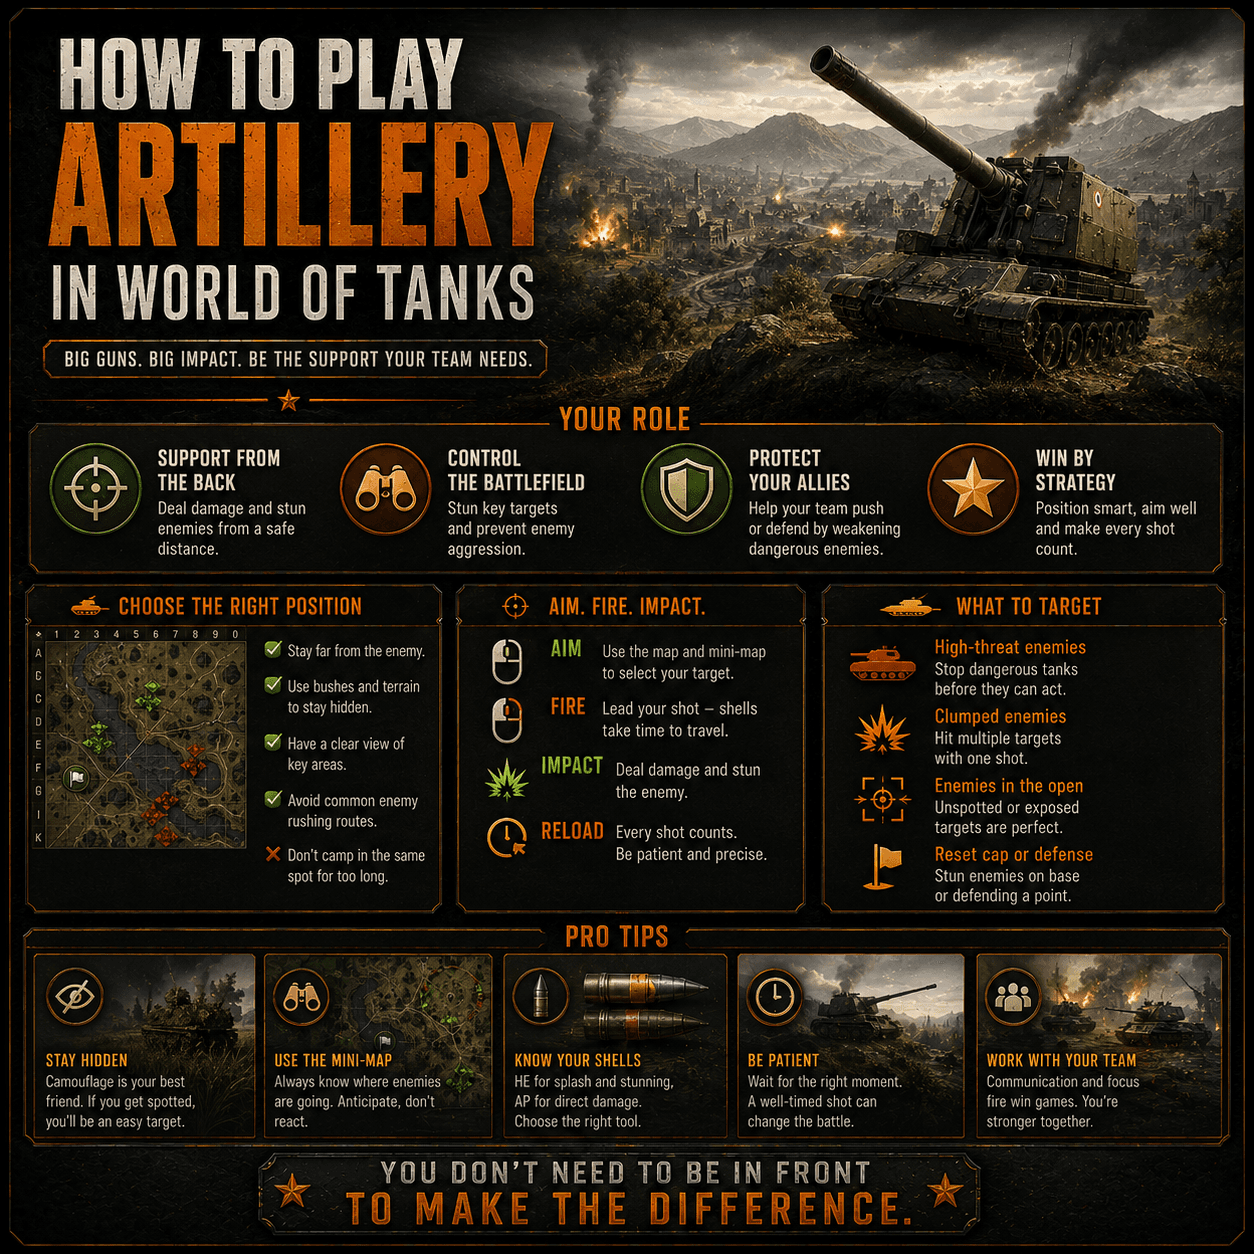
What Is the Artillery Role?
SPGs influence fights from distance by applying damage, stun, area denial, and pressure to positions that are difficult for other classes to reach. Your goal is not to shoot the closest spotted tank every time. Your goal is to make the next important fight easier for your team.
- Support allies who are trading against multiple enemies or a key heavy tank.
- Force opponents away from strong cover before your team pushes.
- Track damaged or isolated vehicles that are safe targets for a finishing shot.
- Relocate often enough that the enemy cannot predict your next firing lane.
Aiming and Target Selection
Spend the reload cycle reading the minimap, not only waiting for the reticle. Look for vehicles that are stationary, reversing, crossing open ground, or committed to a corner. A shot that interrupts an enemy push can be more valuable than a shot at a safe target with no strategic impact.
Aim at the ground or cover area where the target must remain, and account for shell travel time. Do not fire immediately at a tank that has just appeared if it is still moving toward cover. Wait for the predictable moment when its movement is limited.
Use the minimap to avoid tunnel vision. If your flank is winning, rotate your attention toward the next contested lane. If your team is losing one side, support the retreat and buy time rather than continuing to farm a harmless target elsewhere.
Improving artillery performance is mostly about repeatable decisions: useful targets, disciplined aim time, and timely relocation. Review your results with our WN8 boosting service or get personalised feedback through World of Tanks coaching if you want help identifying the habits that cost damage and wins.
Shells, Stun, and Assisted Damage
Different SPGs and shell types reward different decisions. Splash and stun can create assisted damage and reduce an enemy's ability to fight, while direct-damage shells are valuable when a target is isolated or exposed. Learn the strengths of your specific artillery instead of using one ammunition rule for every vehicle.
- Prefer a reliable splash hit over a low-probability direct hit when the target is about to disappear.
- Use stun to help allies win an active trade, not only to pad end-of-battle numbers.
- Track enemy repair-kit usage and punish a second track or module disable when the timing is safe.
- Do not waste a long reload on a target that is already retreating behind hard cover.
Positioning, Counter-Battery, and Relocation
Begin from a firing position with cover, a retreat route, and at least one alternative angle. After firing, watch for counter-battery indicators and consider moving before the next shot. You do not need to relocate after every shell, but repeating the same position and aim direction makes you easy to trace.
As the map opens, move forward enough to maintain useful firing angles. Staying at the absolute back of the map can leave you unable to support a push or defend yourself when the flank collapses. Read the battle flow and preserve an escape route before enemies reach your base.
For defensive habits against enemy SPGs, see our counter-artillery guide. For broader map decisions, use the map positioning guide.
Equipment and Crew Skills
Start with equipment that improves the limitation you feel most often. A reload-focused setup helps when your SPG has strong firing opportunities; aiming or traverse improvements matter more when targets disappear before you are ready. Mobility is valuable when the vehicle must relocate or defend itself late in the battle.
- Prioritize crew skills that improve concealment, repairs, view range, or gun handling according to your SPG.
- Use a Repair Kit early enough to save the vehicle from a tracked or damaged gun situation.
- Keep consumables and equipment aligned with your credit budget; expensive setups are not automatically better.
Compare exact equipment choices in our equipment setups guide and learn how consumable costs affect your session in the consumables guide.
For longer sessions, use the crew skills guide to prioritise training and the Credit Farming service when ammunition, repairs, and consumables are slowing your progression.
Turning Better SPG Habits Into Results
A stronger artillery game comes from reviewing patterns across several battles rather than chasing one lucky high-damage result. Track whether your shots support winning flanks, whether you relocate before counter-battery pressure arrives, and whether your late-game positioning creates new firing angles.
When you want a faster route to measurable improvement, our WN8 Boosting service can help improve your profile, while Gun Marks Boosting is aimed at players working toward higher marks on a specific tank. For learning rather than outsourcing, choose one-to-one WoT Coaching.
Common Artillery Mistakes
- Firing at the first spotted target instead of the enemy creating the most pressure.
- Staying in one position for too long after revealing the firing lane.
- Ignoring the minimap while tunnel-visioning on a slow reload.
- Using all attention on damage and forgetting stun assists, tracking, and area denial.
- Remaining at the back when a controlled relocation would create a safer and stronger angle.
World of Tanks Artillery FAQ
What is the most important artillery skill in World of Tanks?
Target selection and timing matter more than raw damage. Prioritize exposed vehicles, stationary targets, and enemies creating pressure for your team, then relocate before your firing position becomes predictable.
Which artillery shell should I use?
Use the shell that matches the target and situation. Stun or splash shells are useful for area denial and assisted damage, while direct-damage options can be better against isolated or heavily armored targets when your SPG supports them.
How do I avoid counter-battery fire?
Fire from changing positions, avoid repeating the same aim point, and relocate after shots when the enemy can trace your trajectory. Keep cover nearby and do not stay exposed just to finish a reload cycle.
What equipment is best for artillery?
A common baseline is Gun Rammer where available, Improved Ventilation, and a mobility or aiming option suited to the SPG. Choose equipment based on reload, aim time, traverse, and how often you need to relocate on your maps.