
World of Tanks Spotting and Assist Damage Guide
Last updated: November, 2026
Learn how spotting damage and tracking assistance work in World of Tanks, how to create safer assist damage, and how to turn vision into wins.
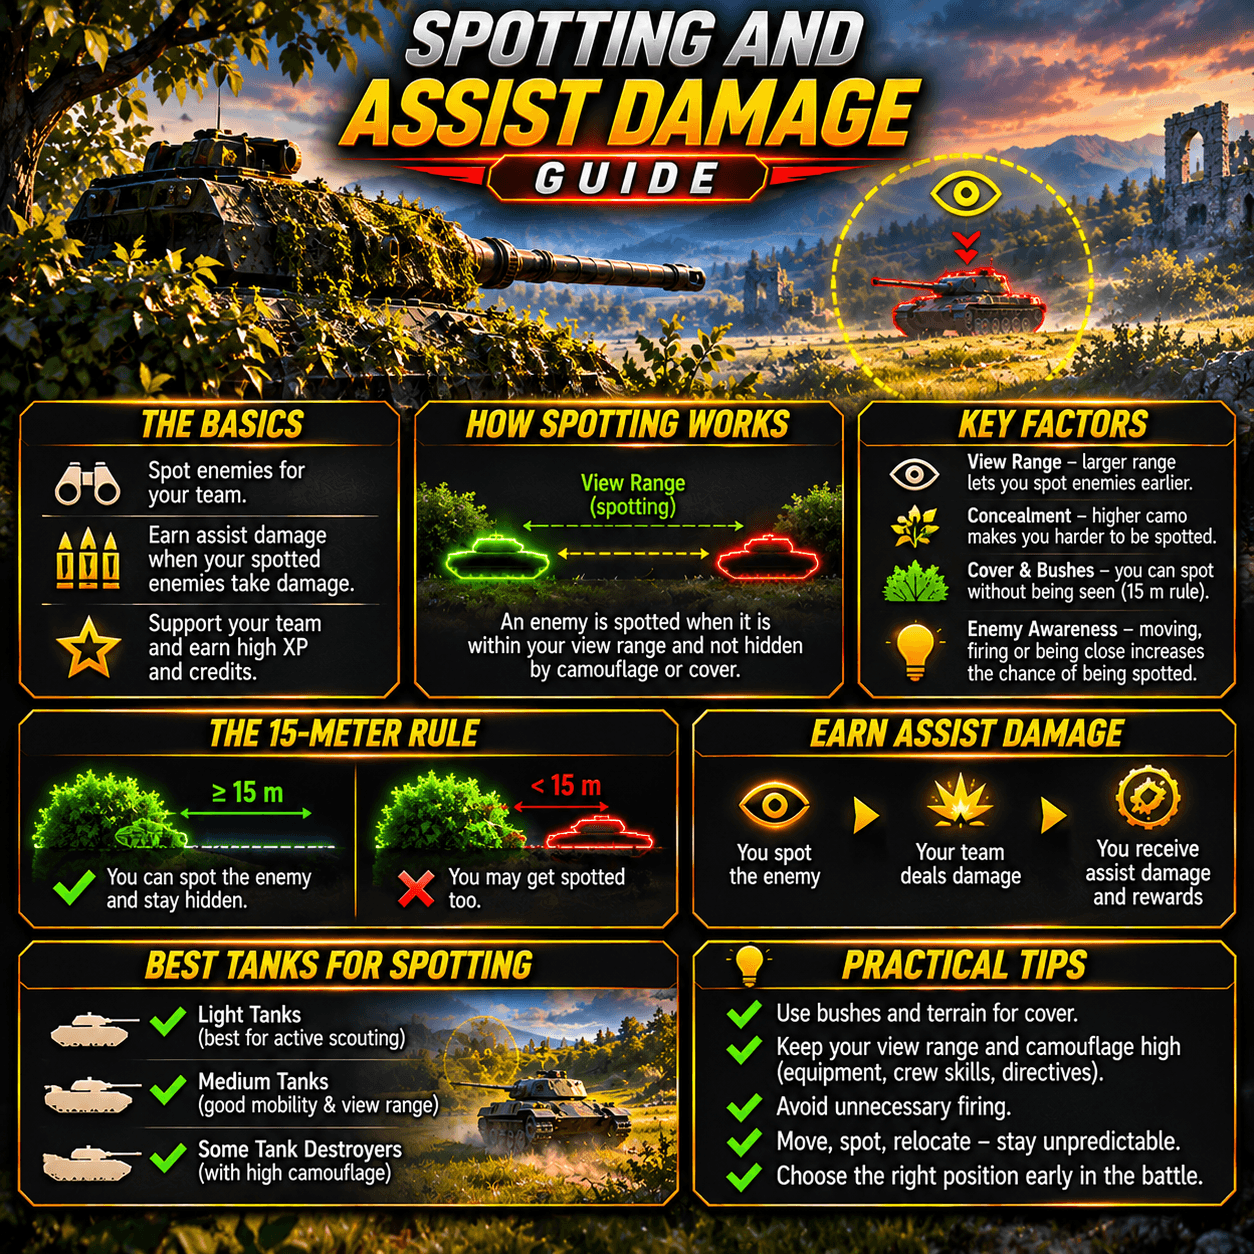
What Assist Damage Means
Assist damage is the result of creating a target that an ally can damage. Spotting assistance comes from revealing an enemy, while tracking assistance comes from helping keep a vehicle immobilised or otherwise available for allied fire. The important skill is not simply finding an enemy; it is finding one where your team can actually shoot.
This makes assist damage a positioning problem. Your view range, concealment, terrain, allied gun lines, enemy routes, and escape path all matter at the same time. Review our concealment and spotting guide for the underlying vision rules.
How to Create More Spotting Damage
- Choose a useful route: move toward a position that reveals an enemy lane while keeping hard cover or a retreat route nearby.
- Arrive before the enemy: early vision is valuable only if you can stay alive after the first contact.
- Check allied guns: do not light targets far beyond your team's effective firing lanes unless the information itself changes the battle.
- Stay patient after the first spot: keep the target lit when safe, but disengage when multiple enemy guns can focus your position.
- Rotate after information changes: once the enemy knows your bush or route, relocate before the next spotting attempt.
The direct spotting range cap is 445 metres, but view range beyond that still helps counter enemy concealment. The practical goal is not a large number on the stat sheet; it is reliable vision that gives allies safe shots.
Tracking Assistance and Timing
A tracking shot is valuable when an ally is ready to fire at the same target. Aim for a wheel or track area only when the target is exposed and your team can convert the immobilisation into damage. A track shot with no supporting gun may waste your reload and reveal your position without creating meaningful assistance.
- Pre-aim the drive wheel before the enemy reaches the corner.
- Fire when the target cannot immediately hide behind cover.
- Coordinate with allied reloads instead of tracking a tank during a team-wide reload window.
- Use a follow-up damage shot when the track is already repaired or the ally no longer has line of fire.
Good tracking decisions connect directly to shot placement and aiming discipline. The correct target area depends on timing, angle, shell choice, and what your team can punish.
Turn Vision into Team Damage
Spotting is strongest when it creates a chain: you reveal the target, allies fire from cover, and you remain alive to repeat the process. Before taking a position, identify which allies can shoot the lane and which enemies can punish you.
Good assist position
It reveals a predictable route, has concealment or hard cover, keeps allied guns nearby, and offers a fallback when the enemy pushes.
Bad assist position
It produces information outside allied range, requires an exposed crossing, or traps you after the first enemy is spotted.
Use the map positioning and rotation guide to connect early vision with mid-battle rotations. If your first spot is no longer useful, move before the enemy turns your position into a predictable target.
Assist Damage Tips by Tank Class
- Light tanks: prioritise vision control and survival. Do not trade your entire hit-point pool for a first spot that allies cannot use.
- Medium tanks: create hybrid assist opportunities by spotting from ridges, tracking around corners, and shifting to a new angle after allies fire.
- Heavy tanks: look for tracking shots and close-range information that supports your push. Use armour and cover to keep the target available for allies.
- Tank destroyers: support allied scouts from a concealed firing position, then relocate when the engagement moves beyond your lane.
- Artillery: choose targets that are visible long enough for the shell arc and avoid wasting shots on enemies your team cannot pressure.
Common Assist Damage Mistakes
- Rushing the first spotting bush without checking enemy matchups or escape routes.
- Spotting targets that are outside allied firing range.
- Tracking an enemy when nearby allies are reloading or have no line of fire.
- Staying in a known bush after the enemy has blind-fired or flanked the position.
- Chasing assist damage after the flank has changed instead of rotating to a useful lane.
- Ignoring direct damage, kills, and survival when a safer shot would help the team more.
Assist damage is a means to win the battle, not a reason to take every risky vision play. Balance it with the firing and survival habits in our win-rate guide.
Players who want help turning stronger vision decisions into more consistent results can also review our WN8 Boosting service.
FAQ
What is assist damage in World of Tanks?
Assist damage is damage dealt by allies after your spotting or tracking contribution. The exact credit depends on the battle situation and whether another ally is also providing the relevant assistance, so treat it as a team result rather than guaranteed personal damage.
How do I get more spotting damage?
Reach useful vision positions early, stay concealed, keep allies within firing range, and survive long enough to make more than one spotting cycle. A safe spot that produces repeatable targets is usually better than a risky opening rush.
Is tracking damage better than spotting damage?
Neither is always better. Tracking is valuable when allies can damage the immobilised target, while spotting is stronger when your team has firing lanes and the enemy is hidden. Choose the assistance type that your team can convert into damage.